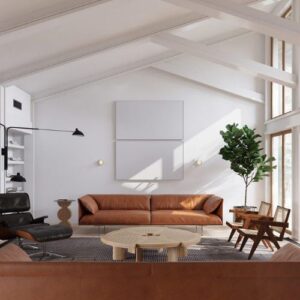
Is there anything more statement than a vaulted ceiling? It’s certainly up there, and if one thing’s for sure, they add untold amounts of drama and elegance to a space. However, the lighting or your vaulted ceiling is vital to get the most out of it.
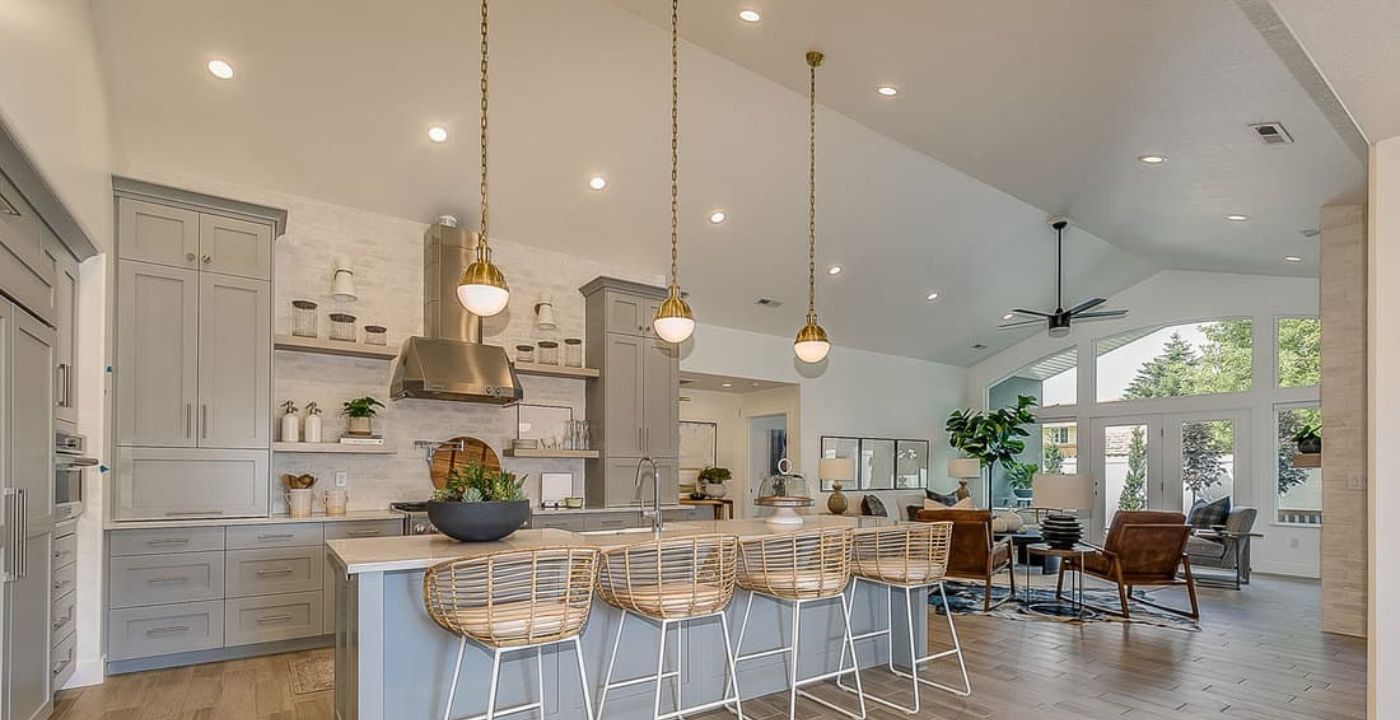
Recessed can lighting is an ideal choice to illuminate vaulted ceilings, so we felt it necessary to run through how to install recessed/can lighting correctly, as it can be a complicated task. Mainly due to installation, which doesn’t usually need to be considered for lighting.
So, without further ado, here is your guide on correctly and safely installing recessed and can lights in a vaulted ceiling.
How to Add Recessed Lighting to a Vaulted Ceiling: DIY
Before fitting can lights for your vaulted ceilings, there are some factors you’ll need to take into consideration:
- The lighting requirements of the space
- The height of the ceiling from the highest to lowest point
- Interior style
- Where in your room requires the most brightness
- The height difference between the tallest and shortest wall
- Any architectural features that should be highlighted
If you’re a confident DIY-er, then you may want to think about installing your vaulted ceiling can lights yourself. Follow our simple step-by-step to learn more about the process:
1. Read the Instruction Manuals
This may seem like an obvious step, but you’d be surprised how many people ignore the user manual. Instruction guides will let you know the dimensions you’ll need to cut for the holes where your can lights will sit in the ceiling.
2. Measure Your Vaulted Ceiling Slope
Ascertain what the difference in height is between the shortest wall and highest point of the ceiling, referred to as the “rise”. You can work this out by subtracting the height of the wall from that of the ceiling height.
Next, you will want to measure the “run” which is the highest to the lowest point of your ceiling.
To calculate the slope, divide the figure you have for the rise by the one you have for the run. Using the measurements you have for the slope will allow you to select the correct recessed lighting for your vaulted ceiling.
3. Voltage Checks
Before you fit your recessed lights into a vaulted ceiling, you’ll need to check how much voltage your circuit can manage without it being overloaded. If you’re replacing an old light fitting, then you can add new ones that amount to the same (or fewer) amps than the ones previously used.
As an example, if you had 4 fixtures, each with 100-watt lights in, then you know your circuit can hold 400 watts before hitting capacity. If you need to add more than were previously used, then you’ll need to consult an electrician.
4. Turn Off the Power Before Starting Work
Lock the circuit breaker panel before starting the installation process as you should never work on live circuits.
5. Plot Out Where the Lights Will Go
Referring to the user guide’s dimensions, make a template that you can then place against the ceiling to mark out, with a pencil, where each light will be going.
6. Look For Obstructions in the Ceiling
Check that there aren’t any obstructions in the ceiling where you plan to install your lights. Use a stud sensor for this.
7. Cut the Holes For the Lights
Using a pad saw, you’ll want to carefully cut around the outlines you have marked out. Try not to cut too much away as it is easier to cut more if needed rather than fix a gap that is too big.
8. Insert the Mounts
Next, you will need to fit the mounting hardware for the light fixtures. If you are wondering what type of recessed lighting housing to use for your vaulted ceiling, you will want to use spring loaded mount hardware.
This is the best mounting hardware to install recessed lighting in a vaulted ceiling, with new or existing drywall, as it will fit through the hole and attach directly to it.
9. Add in Loops
Secure your wiring into place by stapling it around every 2-3 feet and add in the loops for each fixture. Let around 45cm worth of wire hang down from each hole to allow enough slack to wire each light.
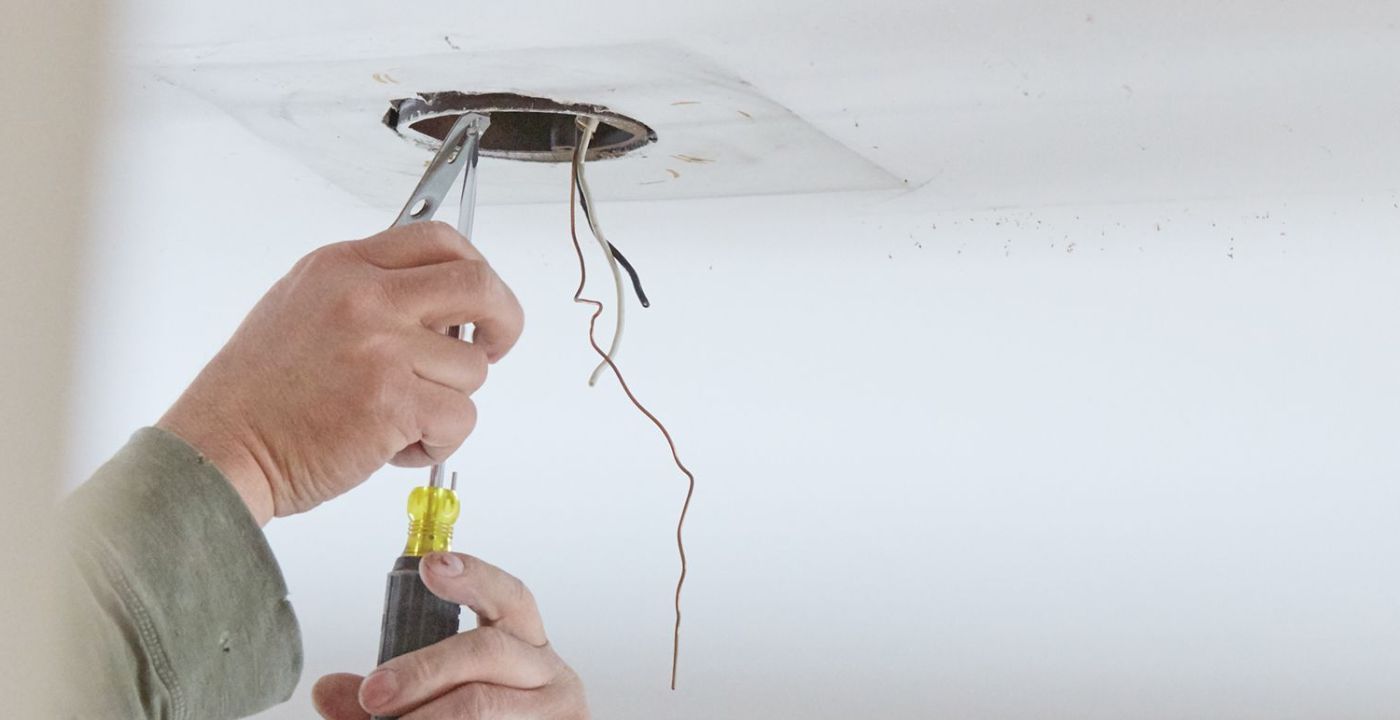
To run wire for your recessed lights through a finished vaulted ceiling, you will need to use a long, flexible drill bit to add in the required holes into the joists, and then pull the wires through them. Strip the ends of the wire using a wire stripper.
10. Connect the Cables
Take your stripped wires and connect the cables that you ran from the power source to the terminals on the mounting hardware. Snap the connectors into the housing and then continue to feed one set of wires from the junction box (and any additional wires) to the next light in the chain so that they work with one single switch. Finish by tightening off at the housing.
11. Lock Off the Wires
Be sure to lock off the wires with wire connectors, keeping the same colours together into a single push lock. Put the wires and connectors back into the fixture box and repeat this for each recessed light fitted in the vaulted ceilings.
12. Place the Bulbs
Unscrew the mounting plate in the light fixture. Hold down the clips above the plate assembly to release it. Squeeze the cone trim into place to mount it to the socket. Screw in the required wattage bulb and then turn the power back on to check the lights have been wired correctly.
Installing recessed can lights into a vaulted ceiling can be a challenging process and if you don’t feel confident, or understand all the above steps, your best bet is to consult an electrician who can safely install your lighting for you.
If you still feel that you can install the lights yourselves, then it’s worth using this video as a further reference point:
How Many Recessed Lights in a Vaulted Ceiling?
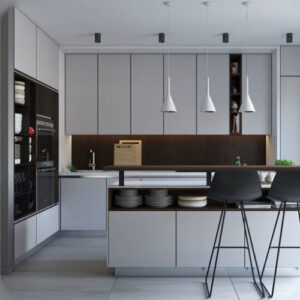
If you’re wondering how many recessed lights you’ll need to install into your vaulted ceiling, this will be dependent on the size of the area you want to cover, as well as the room they’re going in. For instance, kitchens and bathrooms will require more recessed lighting in the vaulted ceiling than living rooms need, as they’re more heavily task-focused spaces.
To determine where to place the recessed lights in a vaulted ceiling, there are two methods. Firstly, you can measure the ceiling – which is our recommended option – or secondly, you can draw a floor plan and place the lights on to a map before putting them in the ceiling.
Of course, you could do a combination of both as drawing out a rough idea of where you want the lights is a good way to plan out recessed lighting in your vaulted ceiling, prior to measurement, for a more accurate decision.
Working Out the Spacing
To work out the spacing you’ll need for your recessed lighting, half the height of your ceiling and that will determine the space that should be set between each recessed light. Use our handy guide as an example:
– For a ceiling height of 8 feet, the space between each light will need to be 4 feet.
– For a ceiling height of 10 feet, the spacing between each light will need to be 5 feet.
– For a ceiling height of 12 feet, the spacing between each light will need to be 6.
You’ll want to place the recessed lights in your vaulted ceiling a minimum of 3 feet apart from the edges of the walls. If you were to place them any closer, you could create shadows that will make the lights appear dull and darken the overall appearance of the room. Placing your lights at a distance will help to reflect the light better on the wall and create a more evenly-illuminated space.
Use Sloped Ceiling Fittings/Adjustable Trims
Generally, the layout rules are the same for can lights in a vaulted ceiling as they are for a standard, flat one. However, it’s best to use ceiling fittings that are sloped or have adjustable trims as these will allow for the sharp angle and lessen glare from the lights.
For specific types of lighting that work to perform certain functions within the home, you may want to consider different placement layouts. Some layouts you may want to consider are as follow:
Task Lighting
This style of lighting is ideal for specific workspace areas; they do not need to be aligned with your general lighting but if you need more than one task light, then they should be spaced equally and aligned with each other across the ceiling space.
Accent Lighting
Directed at objects or features you wish to highlight, these lights don’t need to be in line with general or task lights but should be equally spaced and aligned with each other when more than one accent light is required.
Types of Recessed Light

Due to the angles, you’ll need to ensure you install the right type of recessed light into your slanted ceiling. Types of can/recessed light that you may want to consider include:
Sloped
It’s possible to purchase purpose-designed recessed lights for angled ceilings, and this style of can lighting will work perfectly with your vaulted ceiling as they’re designed to slot in easily and ensure that your lights shine in exactly the right places.
IC-Rated
Vaulted ceilings are thinner than standard ones and, as a result, tend to be more of a challenge to insulate which can mean they lose more heat. Using IC-rated fittings means that your recessed can lights are safe to come into contact with insulation without posing a safety risk.
If you don’t use an IC-rated can light, then you must leave 3 inches between the can and the insulation, which can mean you lose further heat in the house, reducing energy efficiency and the performance of the lights themselves. In other words, get IC-rated lights!
Airtight
The heat from bulbs in vaulted ceilings creates moisture that turns into condensation between the ceiling and the roof. This trapped moisture can lead to roof rot, stained ceilings, mould, leaks and other serious issues.
Using an airtight can light in your vaulted ceiling will ensure that condensation doesn’t form, protecting your ceiling from moisture. The good news is that they also tend to be IC-rated so it covers both bases!
Can Light Size and Brightness
As vaulted ceilings tend to be on the big side, you’ll likely want to choose larger recessed lights to ensure optimum brightness levels. You could also consider combining your can lights with other fixture styles to create a layered effect that ensures an even distribution of light across the room. For instance, consider adding LED strip lights along any beams and the floor, or a statement drop lamp that will enhance the ambience.
As your vaulted ceiling is taller than the average ceiling, the room will require more lumens than others to have adequate lighting. On average, around 1500-1700 lumens would allow enough for vaulted ceiling heights. If you’re below that, then consider supplementing your main lights with some other lighting options – alcove lighting, for instance.
Final Thoughts
Can lights on a vaulted ceiling offer contemporary style to a space. The customisable and versatile nature of these lights is hugely appealing, especially as there is a wide range of recessed light fittings available to suit all décor tastes.
Just remember, though, that fitting can lights for a vaulted ceiling is no easy task even for the most competent of DIY-ers out there, so if you’re at all unsure, then consult an electrician prior to starting, either for advice or to get them to carry out the work for you.